Download Adobe Lightroom for iOS, iPhone, iPad, MacOS 2026
The powerful editing tools for Lightroom iOS/iPhone/MacOS transform images to stunning masterpieces. Download Lightroom APK 11.1.2 (latest version) now to unleash your creativity with robust editing tools.
Version: v11.1.2
Security: Safe
iPhone carries basic adjustments with robust camera features but still why do iOS users prefer Lightroom for editing purposes? Because Lightroom for iOS has comprehensive suit of editing tools for fine-tuning exposure, contrast, and other features.
Using Lightroom on your iPhone, iPad, or MacOS will provide you with a wide range of presets to transform your images with different styles and effects.
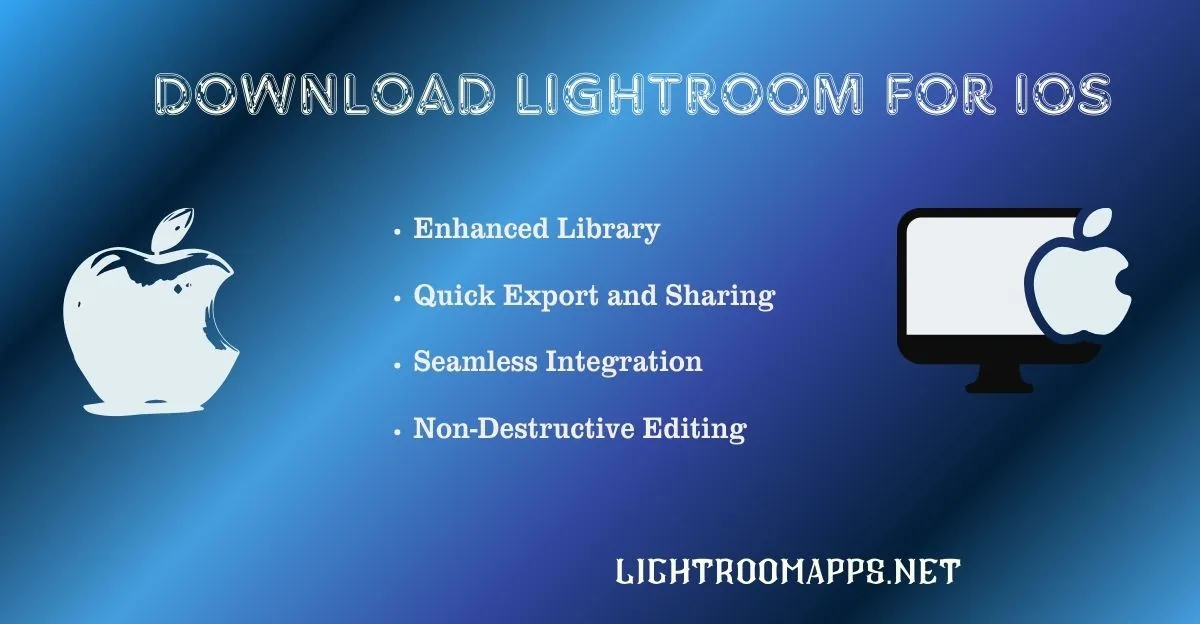
According to the recent revenue of April 2024, 1.5 million people are consuming Lightroom on their smartphones and iPhones. The reasons for such an extensive use includes non-destructive editing, seamless integration with Adobe Ecosystem, presets, and batch editing.
| Genre | Photo & Video Editor |
| Developer | Adobe |
| Version | 11.1.2 |
| Downloads | 100M+ |
| Rating | 4.6 |
| Requires | iPhone, Requires iOS 16.0 or later iPad, Requires iOS 16.0 or later Apple TV, Requires tvOS 11.0 or later |
| MOD Features | All Features Unlocked |
Incredible Features of Adobe Lightroom for iOS
Like other devices and platforms, Lightroom CC for iOS offers many advanced and incredible features. Here is a list of features that I am going to discuss below in detail;
1. User-Friendly Interface and Seamless Editing Experience
One of the exceptional features of Lightroom for iOS is its user-friendly experience and seamless workflow. The app provides exceptional editing features, a simple layout, and easy module navigation.
Creative editing tools enhances image visualization by customizing exposure, clarity, and vibrancy. The app’s intuitive interface allows professionals and beginners to adjust the images while Editing. The improved library makes it sure to users to organize their images in the form of collections.
Also Read: How to Cancel Lightroom Subscription?
2. Non-destructive Editing with powerful editing Tools
iPhone users can access all the basic editing features like exposure and contrast and advanced features like selective Editing and noise reduction. This means there is no restriction on editing your images, and you can use any required tools.
Lightroom also supports non-destructive Editing for iOS, allowing you to edit your images without disturbing their original ones. The editing process is quick on iPads and iPhones due to their smooth touch compared to Android smartphones.
3. Seamless Integration and Organization with Adobe Creative Cloud
Another exceptional advantage of Lightroom for iOS is the seamless integration and organization of images with Creative Cloud. You can sync your images to the cloud and access them anywhere and on any device.
The Editing will remain safe, and you can start it on other devices like Android, PC, or iPad. To find your images quickly, you can use the keyword tagging feature and rate specific images for Editing.
4. Quick Export, Easy Sharing, and Collaboration
A few clicks allow you to export images quickly and share them on your social media platforms. Creating galleries allows you to easily share your edits with clients, fellow photographers, friends, and family.

For instance, you can make edits, export them, and share them with other family members for a travel album. You can start a new project and work together by sharing images with your fellow photographers. If you don’t know about Lightroom export settings, learn it step-by-step to avoid any mistakes.
5. Presets and Filters in iOS
Lightroom is immersive and popular for the built-in adjustments and filters to edit photos within seconds. Both amateur and professional Lightroom users leverage its robust presets and editing tools.
Here are the few benefits of using Lightroom presets for iOS, making it the best choice given below;
AI technology, new updates, and an AI-powered built-in camera make Lightroom more reliable for future needs. Check out the stunning Lightroom film presets and make your videos look like film.
How do you download and Install Adobe Lightroom for iOS?
➦ Click on the Apple App Store and open it on your iPhone.

➦ Tap on the search bar to search “Lightroom.”

➦ Press on the “Get” button and wait for some time.

➦ Download the app and install it. Once you have done so, please open it and access all the advanced features to maintain your editing flow.

How do you download and Install Lightroom for MacOS?
➦ Visit the official website of Adobe.
➦ Press the “Creativity and Design Menu.”
➦ Tap on Lightroom and then take the free trial option.
➦ Fill the required information and complete all the steps.
➦ Install the app and access the amazing features to continue Editing.
Installation of Lightroom MOD APK to iOS, iPhone, and MacOS
Apple Devices don’t support APK files. Other stores or websites cannot provide the MOD APKs as Apple Store is the default app iPhones use for downloading and installation.
Here are some instructions that you need to keep in mind for Lightroom iOS;
- iPhones, iPads, and other apple devices deny support to APK files.
- You can only install apps to apple devices by logging in to Apple Store.
Lightroom MOD APK is only available for android devices and PCs. It is not possible to directly install APK files on iPhones.
Lightroom for iOS | What does it contain?
The common question of iOS users is; what will we get after taking Adobe Lightroom. To make all the specific features clear for users we are providing a comprehensive table given below;
Feature | Description | Notes |
Photo Editing Tools | Professional yet approachable tools to adjust exposure, highlights, shadows, and finer details. | Includes classic editing, color correction, trimming, cutting, and presets. |
Generative Remove | Remove objects or people from photos with a few taps. | AI-powered object removal feature. |
Blur Background | Ability to blur photo backgrounds for a polished look. | Custom blur creation supported. |
Video Editing | Edit videos with similar tools as photos, including filters and effects. | Premium feature in modded versions; supports black-and-white look for videos. |
Built-in Camera | Capture high-quality images directly within the app. | Includes manual exposure, white balance, self-timer, compositional gridlines, and digital level. |
RAW Photo Editing | Edit RAW files transferred from cameras or taken with the iPhone. | Supports full-resolution output and Adobe DNG format. |
Gradient Editing Tools | Linear and radial gradient tools to adjust exposure selectively. | Useful for balancing exposure in complex lighting. |
AI Presets | One-tap AI-powered presets to instantly enhance photos. | Powered by Adobe Sensei AI technology. |
Masking and Selective Editing | Automatic detection of landscape features with generated masks for selective editing. | Simplifies complex edits. |
Synchronization | Syncs with Adobe Creative Cloud to access and edit photos across devices. | Requires Adobe Creative Cloud subscription for full functionality. |
Information Mode | Add captions, titles, and copyright information to photos. | Advanced metadata management for photographers. |
3D Touch Support | Peek and Pop gestures to preview images quickly in Camera Roll. | Available on supported iPhone models. |
Lens and Camera Support | Support for iPhone 7/7 Plus cameras and various lenses with optimized profiles. | Includes color correction and noise reduction. |
Ads-free Experience | No advertisements in the app for smooth editing. | Available in premium or modded versions. |
Sharing | Share edited photos and videos directly to social media or via email. | Convenient sharing options. |
What’s New!
Also Read: Detailed comparison of Lightroom and Snapseed.
PROS and CONS of using Lightroom for iOS & iPhone
PROS
CONS
9 Tips for Beginners to master Lightroom Mobile
- Dynamic Range:
You can adjust the “Dynamic Range” using Lightroom by clicking on the Light section. Below highlights and exposure, you can see the Whites and blacks section. Moving the slider to the left or right will assist you in adjusting the range of maximum and minimum light on your image.
- Vignetting:
The basic reasons to use a Vignette are to direct an eye or to address the specific style of the image. For instance, you have a drone photo to catch viewers’ attention. Pop to the Vignette by visiting effects and slide left to right to direct the viewer’s eye into the middle of the subject.
- Gradients:
Unfortunately, the gradient tool is only available in the paid version. Using gradients, you can easily split your image while editing and specifically edit that area by adjusting colors, brightness, or other editing factors.
- Double:
The double tap trick helps you adjust two image factors: exposure or contrast.
- Muting Tones:
A muted tone is something that has been dulled by the mixing of any color, like gray, white, or black. Picking up one color and then working on the rest of the image is called the muting tones. It’s a way to let your photo breathe.
You can use them to generate your identity, aesthetic, or brand. Move to the colors and then color mix to edit the reds, blues, yellows, or other colors.

- Noise Reduction:
You will see the noise reduction in the details tab while scrolling. It starts to blend and clean up all those little pixels that pixelated part of the image. Increase the detail or wash it out to make your image nice and watercolor. As you reduce the details, you will notice how much it affects.
- Tap and Hold:
Tap and hold play a major role in the little edits of Lightroom mobile. For instance, while increasing exposure, editing, or tweaking the photo, you can tap and hold on to the image. You can easily check the before and after differences of the image.
Check out the salient features of Lightroom vs Lightroom Classic.
- Tone Curve:
While editing, hit the Light section to see the curve on the top. After selecting it, you can access all three colors to create a little S curve in the image. Create simple keyframes: a top for your highlights, a middle for your tones, and a bottom for your shadows.
If you bump up the top right frame and bottom down frame, that will create S. Such edits get more extreme the more you tamper with the tone curve. You can edit the particular color saturation and hue in the color section. If you want to adjust the entire set of reds, such as in dark tones.
- Presets:
If you like simple edits, create a preset for the specific image. Scroll down the bottom, tap the presets section, and select user presets. Your saved presets are displayed, allowing you to quickly create whatever you want.
Video about Downloading Lightroom for iOS
Frequently Asked Questions about Adobe Lightroom for iOS, iPhone, & MacOS
Final Thoughts
Lightroom for iOS contains all the advanced features that a PRO users needs for aesthetic editing. The powerful editing tools, non-destructive editing, batch editing, transform images from ordinary to masterpieces.
Don’t forget to read the installation guide for smooth running on your device before clicking the download button. Start your editing workflow stunning today!