
How to add a Watermark in Lightroom (Android, iOS, PC) 2026
Has someone ever shared your photo online without asking or giving you credit? It happens more often than most photographers realize, and it is exactly why learning how to add a watermark in Lightroom is worth five minutes of your time.
In this guide, you will learn a simple, effective way to watermark your photos, whether you are working on Android, iOS, or a desktop computer. A watermark does more than protect your images. It also acts as a quiet form of advertising that promotes your brand and helps new clients find you.
How to add a Watermark in Lightroom?
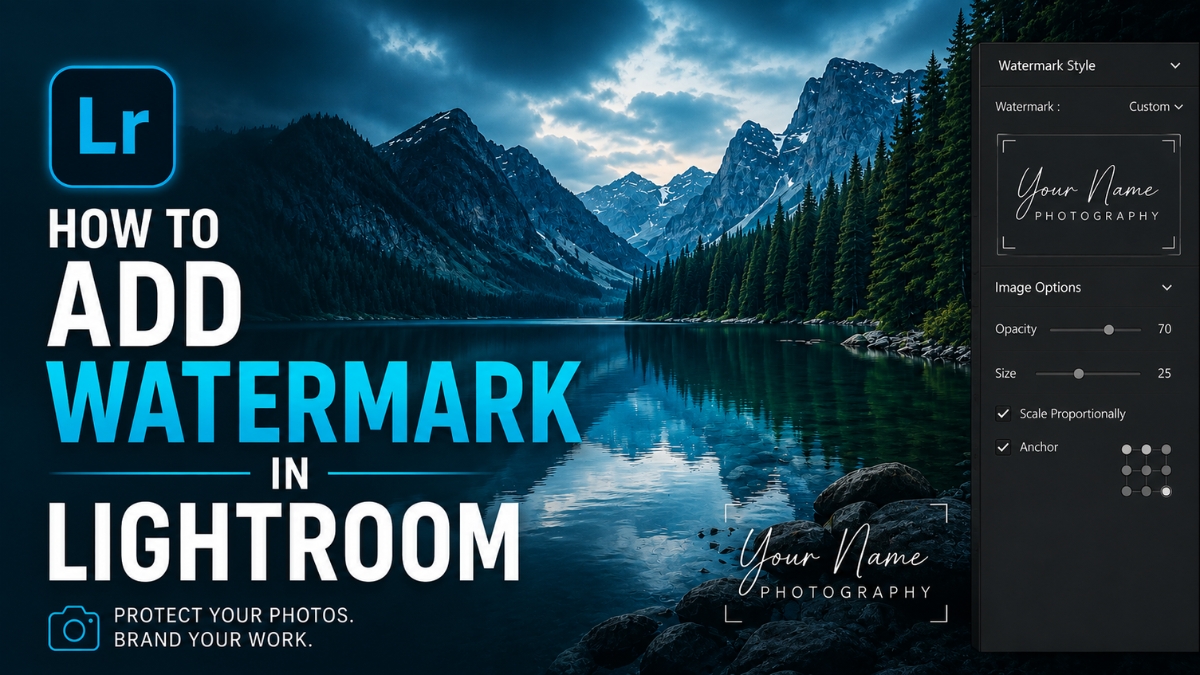
A watermark is a message, usually text, a stamp, or a signature, placed over an image and typically kept semi-transparent. Creating one directly inside the app is what most photographers mean when they talk about a Lightroom watermark, and it only applies to exported copies, so your original photo in the catalog stays untouched.
You can customize your watermark using font, size, opacity, and position, so it fits your personal style or brand without overwhelming the photo underneath.
Important: Learn how to update Lightroom Classic to enhance your editing performance.
Why is adding a watermark in Lightroom essential?
Lightroom is one of the most popular editing apps, especially for beginners, largely because it makes managing and exporting large batches of photos so easy. Watermarking is the natural next step for photographers who do not want their work reused without permission.
Here is a quick list of what you gain by learning how to watermark photos in Lightroom:

Adding this protection helps confirm that an image belongs to you and that others should not use it without your permission. It will not stop a determined person from cropping or cloning it out, but it does discourage casual reuse and most commercial printers will not print a photo that is clearly marked as copyrighted.
How do you add a Watermark in Lightroom Classic (PC or Mac)?
If you want to know how to create a watermark in Lightroom Classic, the most direct route is through the Edit menu, though you can also reach the same editor from the Export dialog. Here is how it works.
Step 1: Open the Watermark Editor
From any module, choose Edit > Edit Watermarks on Windows, or Lightroom Classic > Edit Watermarks on macOS.
Step 2: Choose Text or Graphic
Pick a Watermark Style at the top of the editor: text vs graphic. You can use one or the other, but not both at once, uploading a logo automatically disables the text option.
Step 3: Style Your Watermark
For a text watermark, type your text below the preview and set the font, style, alignment, color, and drop shadow. Note that OpenType fonts are not supported. For a graphic watermark, click Choose and select a PNG or JPEG file, a transparent PNG works best.

Step 4: Adjust Size and Position
Set the opacity, then choose a sizing method: Proportional scales the watermark up or down, Fit spans it across the photo’s width, and Fill stretches it to cover the full height and width. Use the nine anchor points to position it and rotate it left or right if needed.
Step 5: Save Your Preset
Click Save, or open the preset menu and choose “Save Current Settings As New Preset” so you can reuse it without rebuilding it each time.
Step 6: Apply It on Export
Go to File > Export, scroll to the Watermarking section, check the Watermark box, and select your saved preset from the dropdown before exporting.
Add a watermark in Lightroom Classic this way and the app will remember your preset for future exports, which saves a lot of time if you watermark photos regularly.
How do you Watermark Photos in Lightroom on Android?
Mobile users can add a watermark in Lightroom mobile in just a few taps, though this is a premium feature that requires a paid Lightroom subscription.
Step 1: Open the App
Open the Lightroom app on your Android device and select the photo (or photos) you want to export.
Step 2: Tap Share
Tap the Share icon, then tap the Settings (gear) icon in the panel that appears.

Step 3: Turn On Include Watermark
In the Export settings panel, toggle on Include Watermark.
Step 4: Customize It
Tap Customize, then use the Text tab to type your watermark, or switch to a graphic if you have one. Adjust size, opacity, and position using the nine placement points.
Step 5: Export and Check Your Gallery
Tap Done to finish, then export. The watermarked copy saves separately, your original stays untouched.
How do you add Watermark to Adobe Lightroom iPhone (iOS)?
The iOS process closely mirrors the Android steps above.
Step 1: Open the Lightroom App
Open the app and select the photo or photos you want to export.
Step 2: Choose an Export Option
Tap Share, then choose “Export as” (or tap the Settings icon next to Save Copy to Device).
Step 3: Turn On Include Watermark
Enable the Include Watermark toggle in the export settings.
Step 4: Customize Your Watermark
Tap Customize to set your text or logo, then adjust size, opacity, and position until it looks right.
Step 5: Export
Tap Done, then export. The same settings carry over the next time you export, so you rarely need to rebuild it.

Pro tip: Make sure the correct watermark or preset is selected before you tap Export or Done. It is an easy step to miss, and it is the most common reason the wrong watermark, or no watermark at all, ends up on an exported photo.
Also Read : If you are making efforts to blur background in watermark, read the complete guide and enhance your editing skills.
How do you add a Logo Watermark in Lightroom?
Learning how to add a logo watermark in Lightroom follows the same basic path as a text watermark, with one key difference: you need a logo file ready beforehand. Lightroom cannot design a logo from scratch, so create it in Photoshop, hire a designer, or use an online logo maker first, ideally saved as a transparent PNG so there is no white box around it.
Once you have the file, choose the Graphic option in the Watermark Editor and upload it. From there, you can resize it, reposition it with the anchor points, adjust its opacity, and rotate it left or right. You cannot recolor the logo or add a shadow to it directly inside Lightroom, so make sure the file looks the way you want before importing it, and remember a graphic watermark replaces any text watermark, since only one can be active at a time.
A Lightroom logo watermark vs a plain text watermark tends to look more polished for brand-focused photographers, especially when placed subtly in a corner rather than across the center of the image.
How do you edit or remove a Watermark in Lightroom?
Once your first watermark is set up, you rarely need to build it from scratch again.
What are the best watermark settings for Photographers?
There is no single correct way to watermark photos for copyright protection, but a few habits tend to work well:
If you are comparing add a watermark in Lightroom vs Photoshop, Lightroom’s built-in watermark editor is faster for batch exports since it applies automatically to every photo you export, while Photoshop offers more precise control over shadows, blending, and multi-layer designs but requires manual work on each image.
Frequently Asked Questions about Adding Watermarks in Lightroom
Final Words
Learning how to add a watermark in Lightroom is one of the easiest ways to protect your creative work and keep your name attached to it. A watermark tells viewers the image is not free to reuse without permission, and it gives your brand quiet, consistent exposure every time a photo is shared. Set your preset up once, on desktop or mobile, and every export from then on will already be protected.