How to Do Soft Proofing in Adobe Lightroom (Complete Guide)
Are you tired of color inaccuracies and unexpected shifts in tone showing up only after you print your photos? This technique saves you the guesswork by matching your screen preview to what the printer will actually produce.
Getting a good match between printer, ink, and paper depends on soft proofing in Lightroom during print preparation. Skip it, and the mismatch between screen and print rarely ends in a result you’re happy with.
This guide walks through what soft proofing is, how to turn it on, and the methods and benefits that make it worth using every time you print.
What is Soft Proofing in Lightroom?
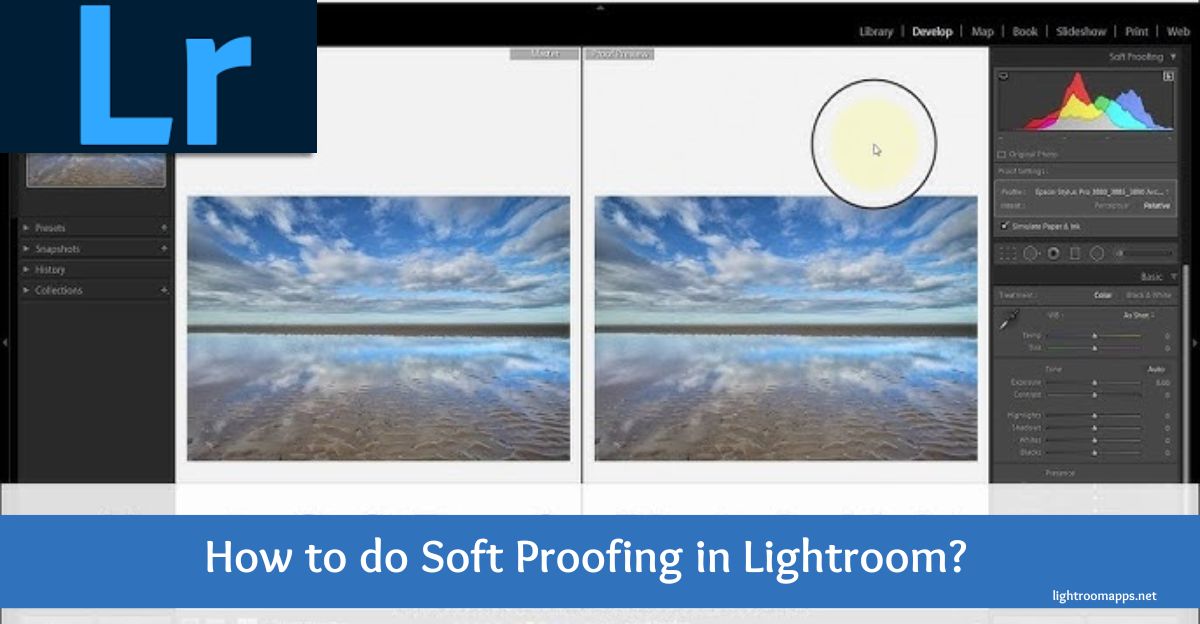
Soft proofing is the technique that helps Lightroom users get an idea of how an image will look after printing. It simulates the print on your display beforehand, so you can make any necessary adjustments before you print.
Once you see the simulation on screen, you can judge whether the preview matches what you actually want. Here’s where the soft proofing workflow helps most:
Soft proofing gives you real control over how your printed photos turn out. If you’re also working to fix blurry images, Lightroom’s other editing tools are worth exploring too.

Activation of Lightroom Soft Proofing Technique
Adobe first introduced this feature back in Lightroom 4, and the core workflow has changed very little since. You can turn soft proofing on using any of the following ways:
- The main image preview has a Soft Proofing checkbox in the bottom left corner. Click it to turn soft proof mode on or off.
- If you don’t see this option, open the small drop-down menu that shows or hides toolbar items. Soft Proofing is one of the options listed there.
- The quickest way is the keyboard shortcut: press “S” to toggle Soft Proofing on or off in the Develop module.

Pro Tip: A few more shortcuts are worth learning once soft proofing is on. Shift + S toggles the Destination Gamut Warning, Y switches between the Current and Proof Preview states, and the backslash key (\) toggles a full-screen Before/Proof view.
Don’t forget to calibrate your monitor before soft proofing, so colors and brightness display accurately.
How to use Lightroom Soft Proofing?
A common mix-up is Print module vs Develop module: most people expect this technique to live in the Print module, but you’ll actually find it in the Develop module instead, which feels counterintuitive at first, but makes sense once you think about it.
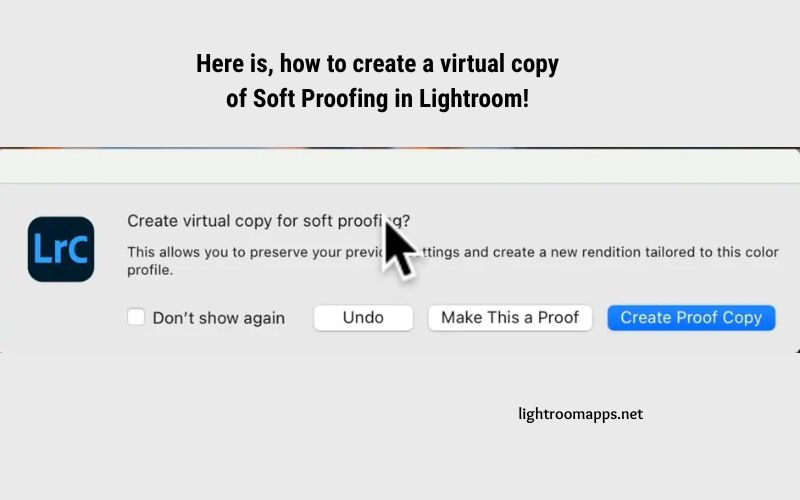
Corrections and adjustments to an image only happen in the Develop module, which is why Lightroom keeps soft proofing there too. After checking the box to start soft proofing, create a proof copy in Lightroom.
This virtual copy gives you a clearer sense of how the photo will look once printed. The right-hand panel has a button you can use to create a proof copy.
What are the benefits of Soft Proofing in Lightroom?
Soft proofing is the best way to keep your images consistent and get predictable results. It also helps you preserve rich colors and detail.
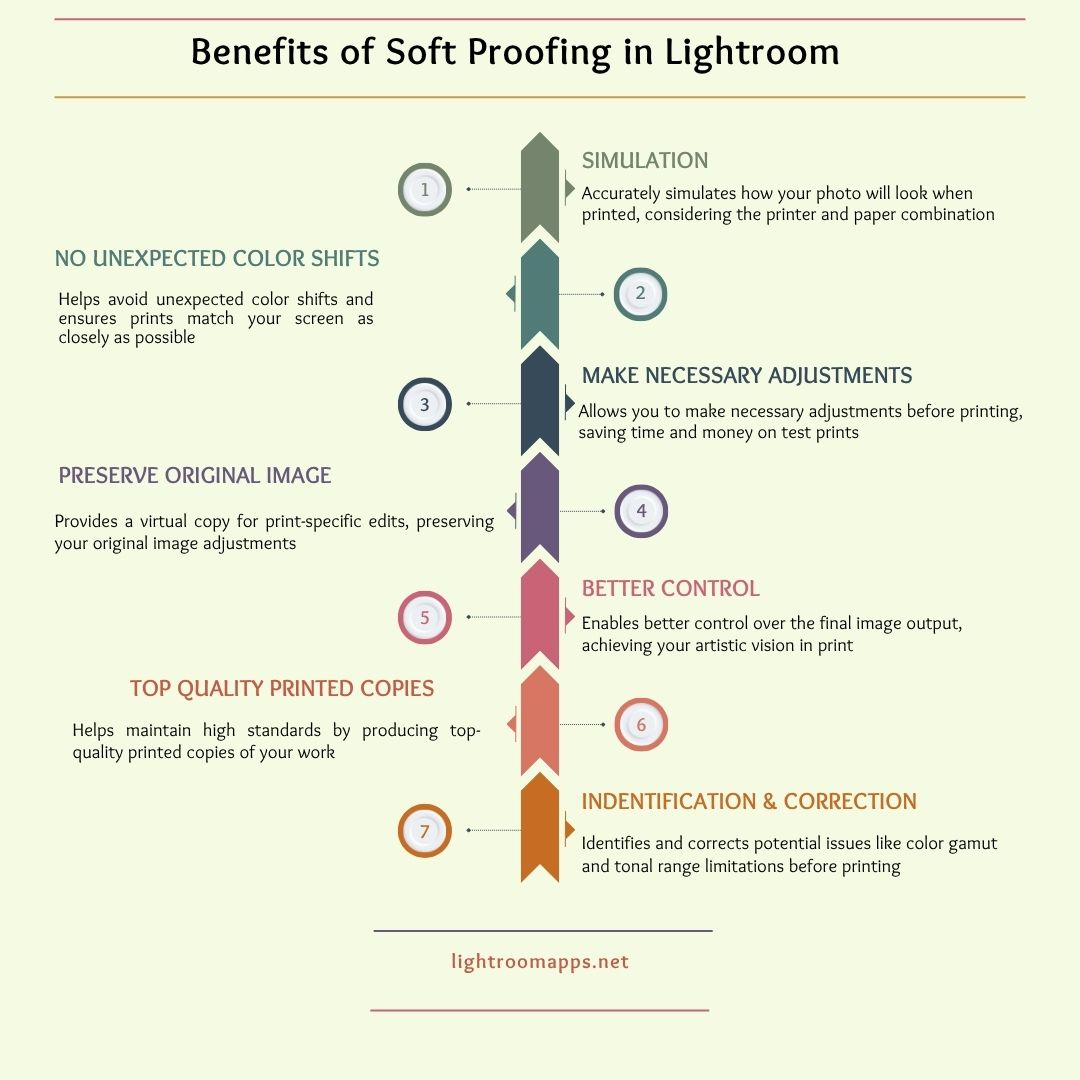
- Once you’ve edited an image on screen, switch soft proofing mode on. You can then judge in the preview whether your screen colors match the print or not, and catch any unexpected hues or faded tones before they reach paper.
- Using soft proofing fine-tunes, your images give you predictable, high-quality results. You can preview how your digital photos look after a specific print and make significant changes if required.
- You don’t have to run repeated test prints and adjustments. In short, soft proofing saves both your time and your printing budget.
- Soft proofing gives you real control over the final printed output, so your artistic vision comes through the way you intended.
- Every professional photographer wants a print that lives up to their work. Soft proofing helps you maintain that standard consistently.
- A photographer’s creativity shows in the details. Soft proofing fine-tunes images so that artistic vision carries through into the final print.
AI advancements for Lightroom Mobile also helps to save your time, don’t forget to utilize them while editing images.
Common Soft Proofing Mistakes You Should Know
Visualizing print output in Lightroom only works if you use soft proofing correctly. Many beginners make a few common mistakes here, so let’s go through them one at a time.
Poor Calibration of the Monitor
One of the most common mistakes is a poorly calibrated monitor. When your monitor isn’t calibrated properly, the screen display becomes inaccurate, and that throws off:
If your color display doesn’t hold a small tolerance, you won’t get an exact match. On top of that, inaccurate colors throw off contrast and brightness too, so the print ends up mismatched, often showing a visible color shift you didn’t see on screen.
Monitor calibration is the single biggest factor in getting an accurate print. And if you’re struggling to smooth skin in Lightroom, the same attention to detail applies there for the best results.
Poor Adjustment of Print
The second common mistake is a poor adjustment of print settings. Many people assume Lightroom will auto-correct everything for them once Soft Proof is on.
That’s not how it works. Once you view your image in the print preview, note down the adjustments you need to make, then apply each one in the Develop module.
After making all the adjustments, check the print preview again, and only then send the image out. This avoids repeated printing mistakes and makes your workflow far more reliable.
Soft Proofing Not Working?
If soft proofing isn’t working the way you expect, the fix is usually simple. Double-check that you’ve selected a valid printer or paper profile, since a missing profile is the most common reason the preview doesn’t change. A GPU-related display bug can also stop Simulate Paper & Ink from working correctly, so try disabling GPU acceleration in Lightroom’s preferences if the effect looks stuck.
How to Soft Proof your Image in Lightroom?
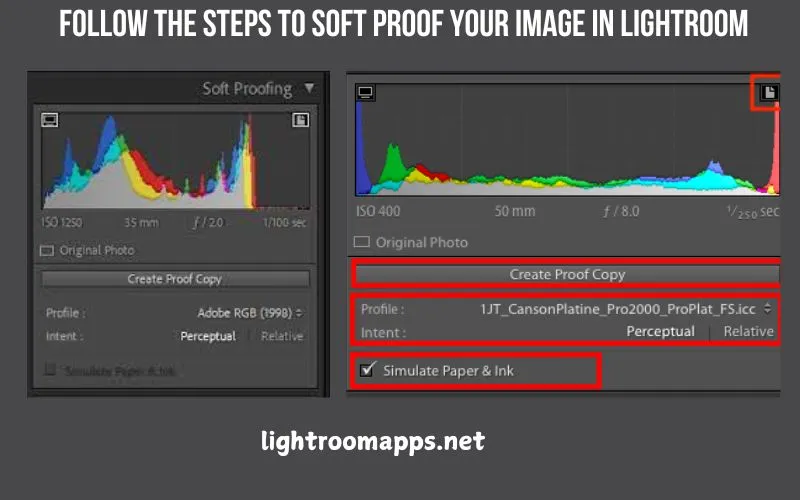
Here is a simple workflow to follow for accurate results:
- Open the Develop module and select an image to apply soft proofing to.
- Press the keyboard shortcut to make sure Soft Proofing mode is turned on.
- Tap “Create Proof Copy,” match the paper, and print with the selected profile.
- Click the Soft Proofing panel on the left to compare the master photo with the soft proof photo, and make adjustments to match the two.
- Turn on Simulate Paper & Ink, and switch on the gamut warnings.
- Make any further adjustments to the soft proof image until it matches the original.
How to Soft Proof in Lightroom Classic?
Lightroom is a well-known photo editing app with two versions, Classic and Cloud. If you’re unsure which one you’re using, take a look at Lightroom vs Lightroom Classic.
Here’s the step-by-step soft proofing process for Lightroom Classic, from photo import through to a print-ready result:
Monitor Calibration
The best way to calibrate your monitor is with a colorimeter, such as a Datacolor Spyder. This ensures your monitor displays accurate colors and doesn’t throw off your editing decisions during post-processing.
Soft Proofing Photo Preparation
This step often gets left until last, but it’s worth doing first, since it covers all the adjustments below:
- Raw Conversion
- Color
- Exposure
This step also lets you make selective touch-ups with masks before printing, so your image is fully processed before you move on.
Install Printer’s ICC Profile
Each paper option has its own color profile, depending on your printing service. You can usually download this profile from your printer manufacturer’s website. If you can’t find it there, contact them directly. Keep the file handy once downloaded, since installation only takes a minute.
On Windows, right-click the profile file and select Install Profile to finish the installation. On Mac, move the file to Library > ColorSync > Profiles to complete the installation there.
Activate Soft Proofing Option
After importing your image, open the Develop module and toggle on the Soft Proofing button to activate it.
Create Soft Proof Copy
Once you’ve made your soft proofing adjustments, create a soft proof copy, essentially a virtual copy of your image, by tapping the button just below the histogram.
Choose the Intent, Paper, and Ink Simulation
Scroll to the panel just below the histogram to find the intent option. This rendering setting controls how colors adjust to match your target profile. Lightroom offers two intent options:
- Relative
- Perceptual
The Relative option works best for maintaining color accuracy on colors that are already within range, while Perceptual redistributes the whole image to preserve color relationships. Because Perceptual spreads colors more gradually near the gamut boundary, it usually shows less banding than Relative in images with a lot of out-of-gamut color.
Simulate Paper and Ink captures how your image will look based on the ICC profile of the paper and ink, using white point and black density data to represent that combination accurately.
Necessary Adjustments Before Saving
Soft proofing mode adds new options to the histogram, including overexposure and underexposure warning icons for both the monitor and the paper. These make it easy to see exactly where exposure needs adjusting.
Toggle these buttons to check exposure accuracy on paper against what you see on screen. Most people start their workflow with exposure and contrast.
From there, you can fine-tune detail and realism with mask adjustments. Once everything looks right, save the image, export it, and send it to print.
PRO Tip: Keep in mind the difference between your monitor screen and the printed page. Monitors are backlit, so colors look more saturated and brighter on screen than they will on paper once printed.
Still if you consider Lightroom lacks any advanced feature that you need, just have a look over the best photo editing apps.
Frequently Asked Questions About Soft Proofing
Final Thoughts
Soft proofing makes getting an exact print match far easier for your photos. Using these techniques helps you avoid color discrepancies, sharpen your artistic vision, and print with more confidence. If you haven’t tried it before your next print run, give it a go and see the difference for yourself.